
I reckoned it would only be fitting that my TT030 receives all the rework procedures I had recently created visual guides for. I'm very happy and relieved to have done it all successfully. I also did a highly experimental "Poly-Mod" that I will outline at the end.
Essentially, with these fixes, my early REV.C (C301763-001 REV A) is now a REV.K.
I am not responsible for any problems or damage caused by these procedures. Attempt them at your own risk.
Rework Done
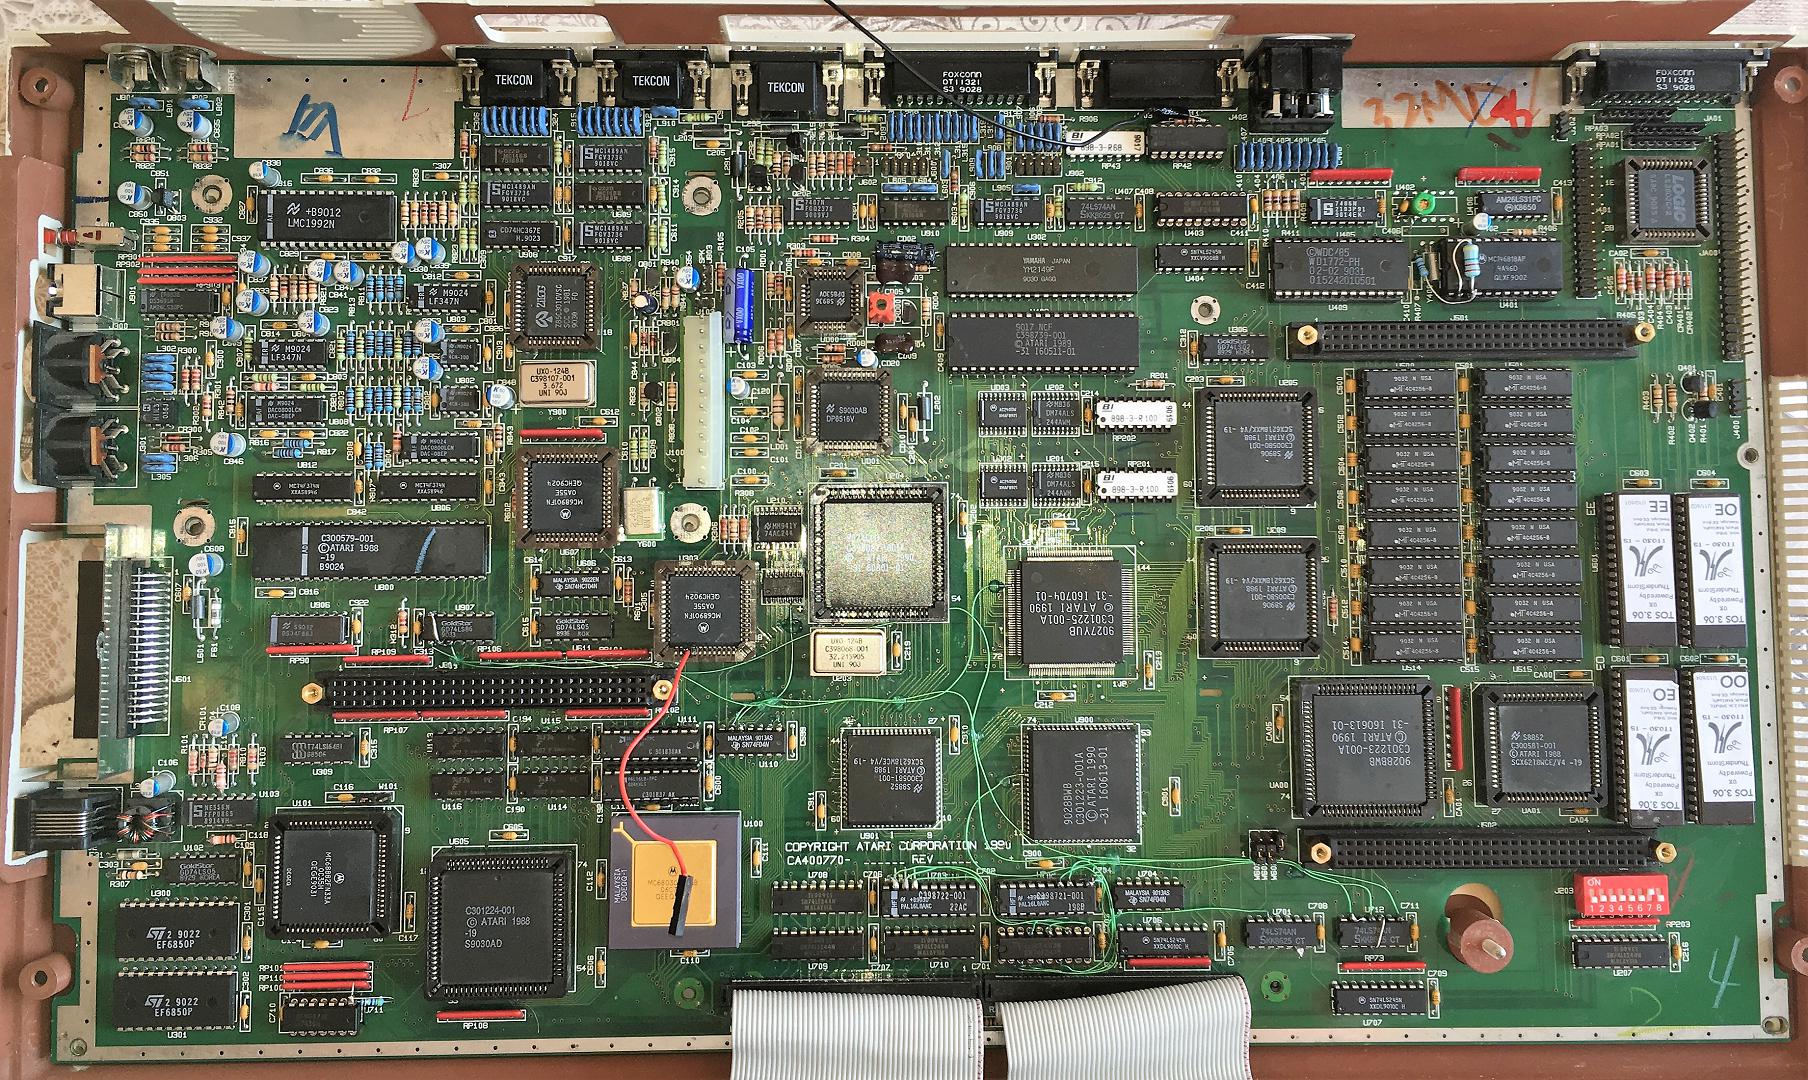
REV.C Rework Overview
RTC Fix
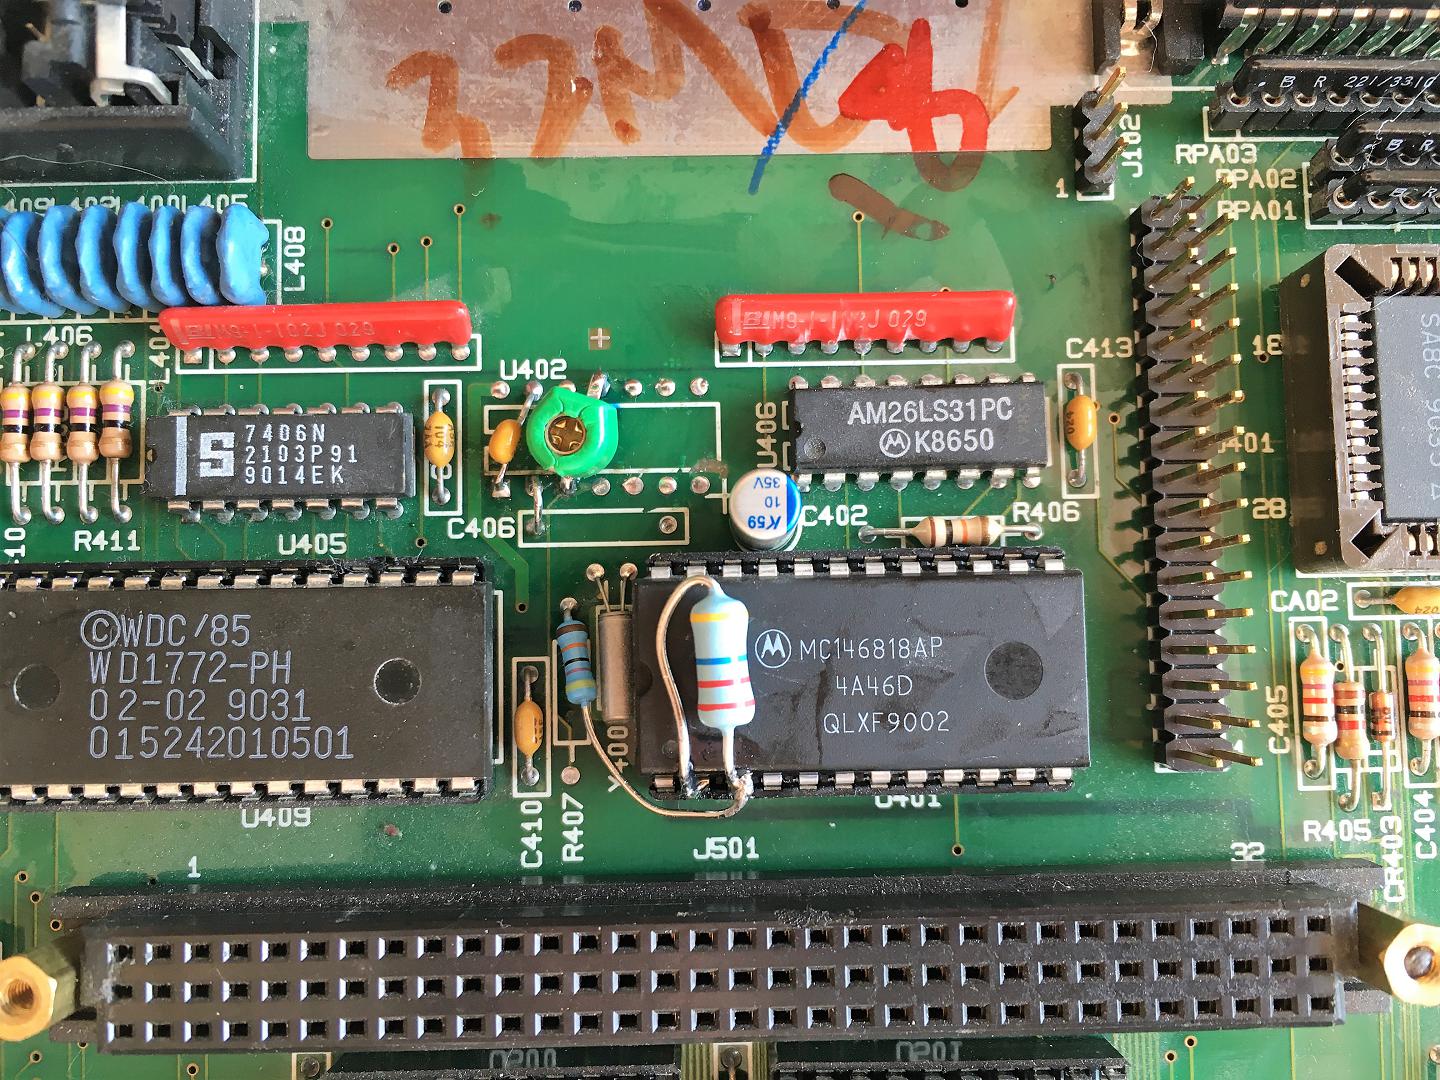
Very straightforward. Nothing much to comment here. I haven't received my frequency counter yet so once I do I will adjust it. Frequency counters are very cheap and found from all usual sources.
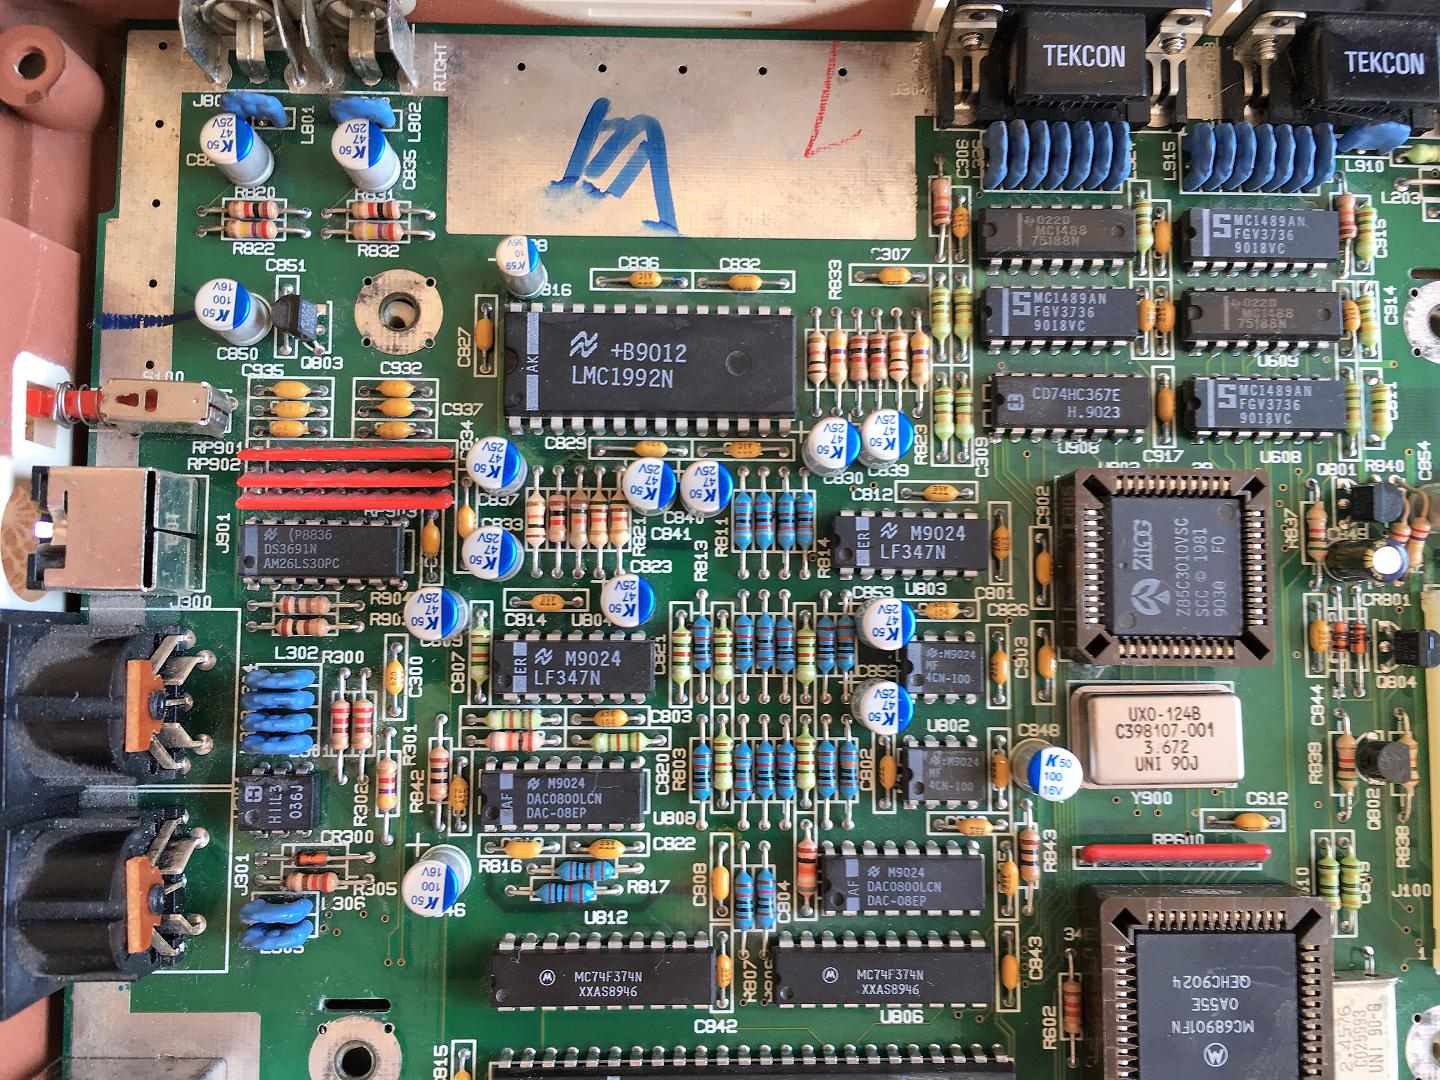
VME Fix
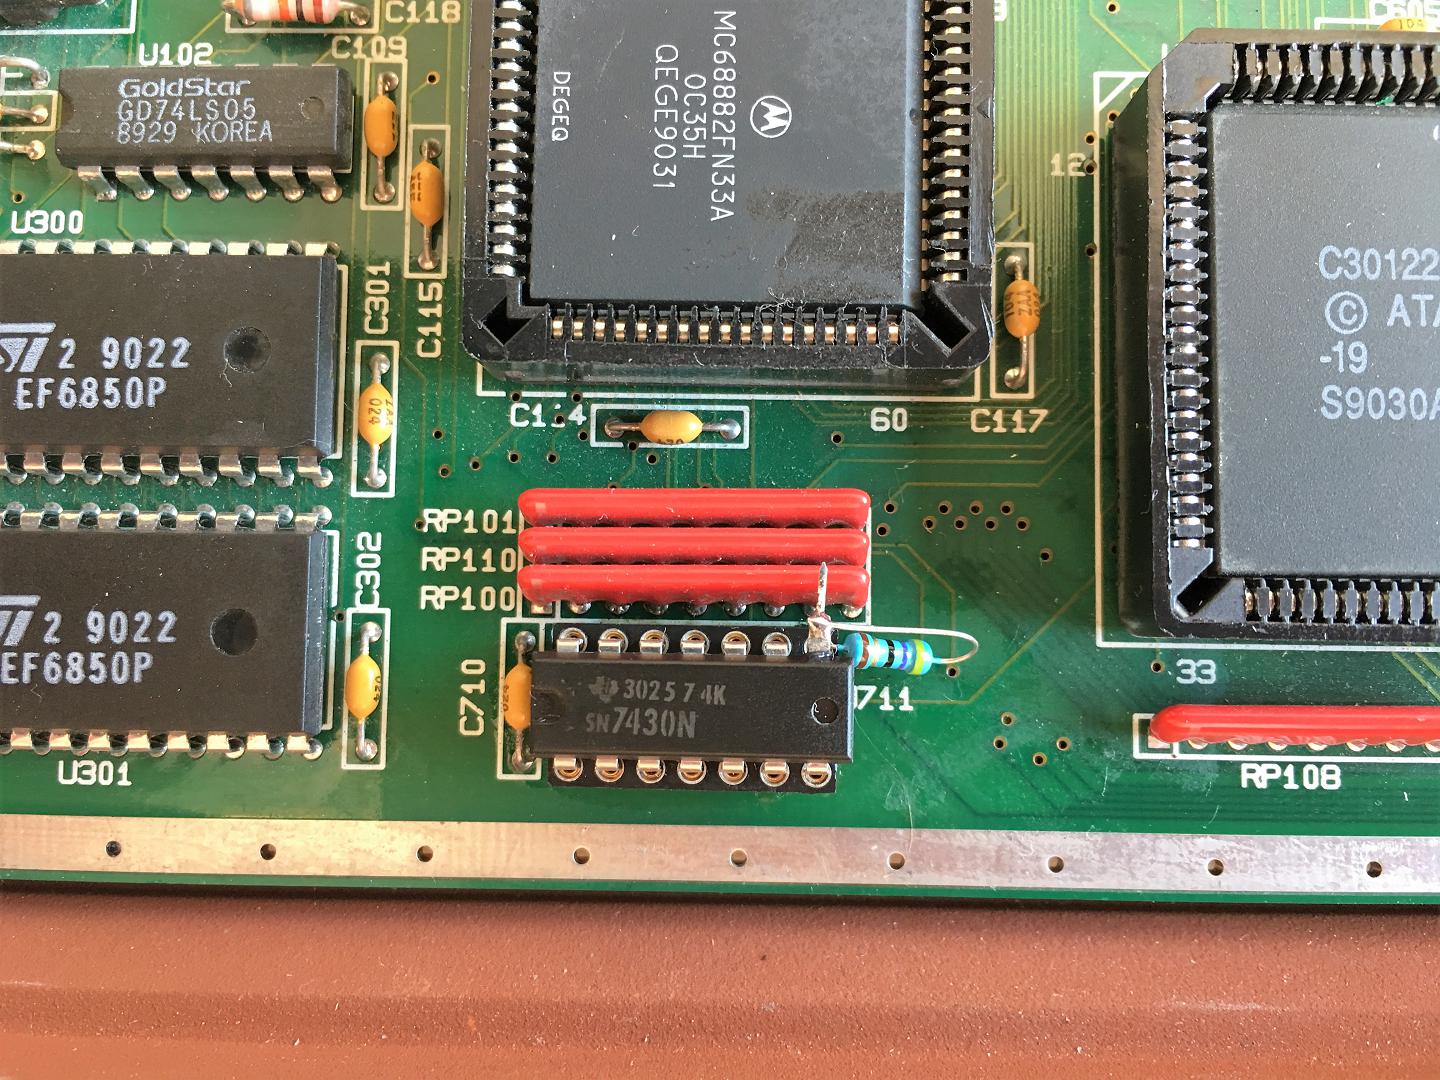
I removed the 74ALS30 and soldered a socket in its place. I inserted the 7430 as pictured with pin 8 bent up. I shortened one end of the resistor and inserted it into the socket, which was a snug fit. The other end was soldered to pin 8 as pictured.
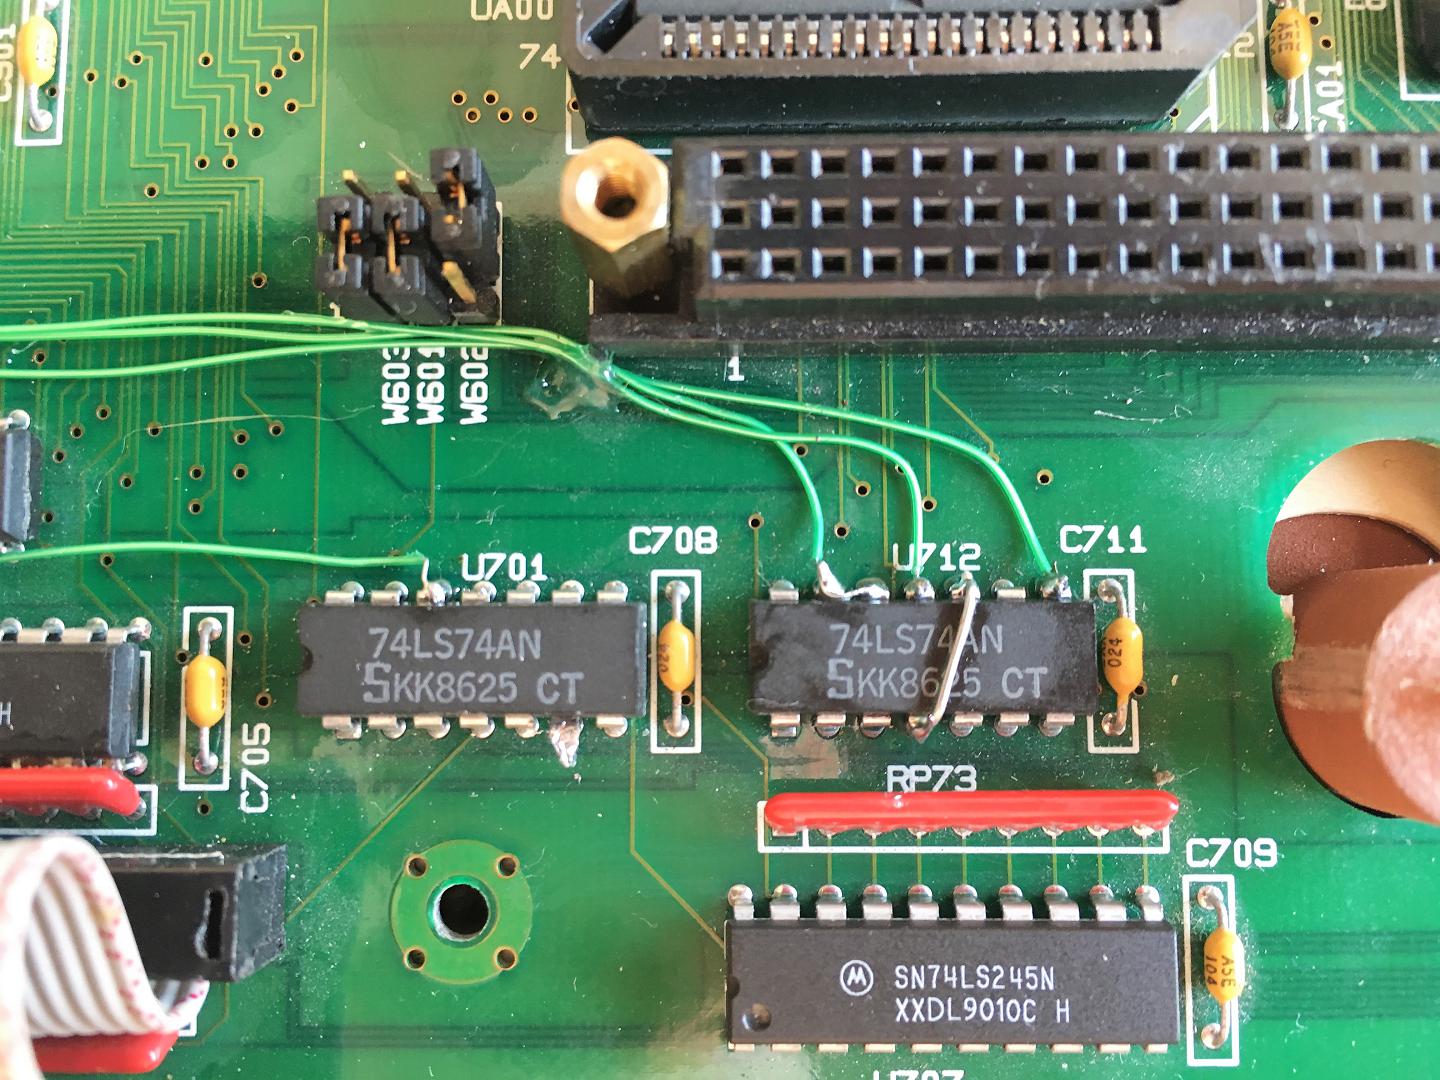
U703 was conveniently socketed already so I simply removed it, bent pins 17,18, and 19 as pictured and re-inserted it. I replaced U705 74LS244 with a socket and inserted a 74F244 in its place.
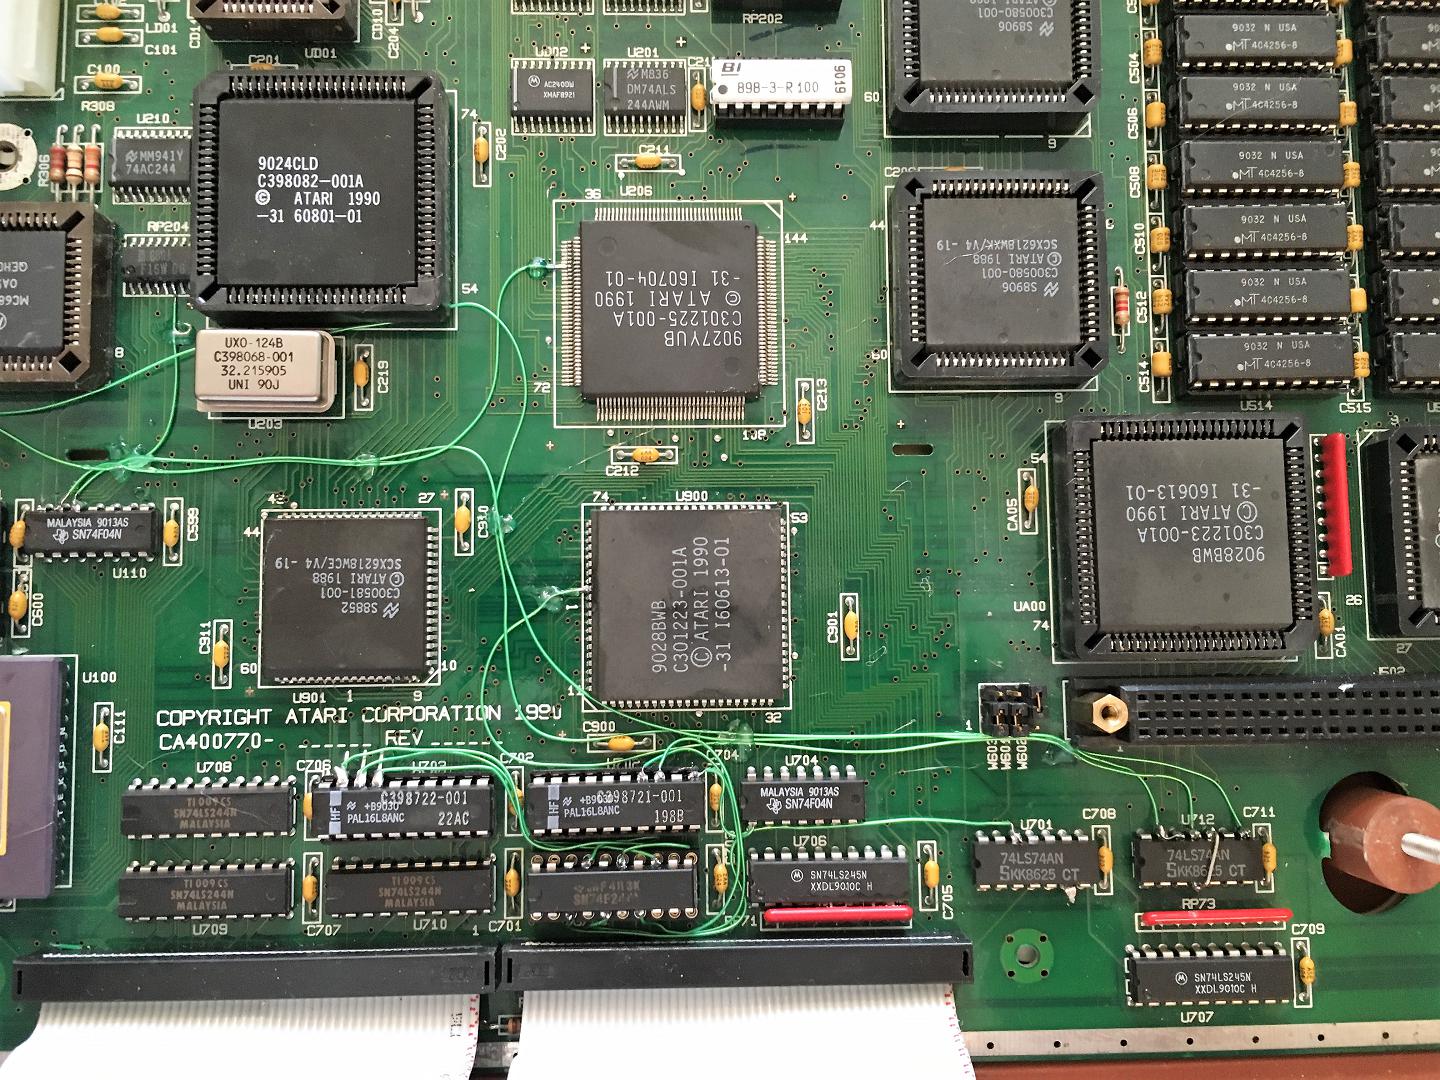
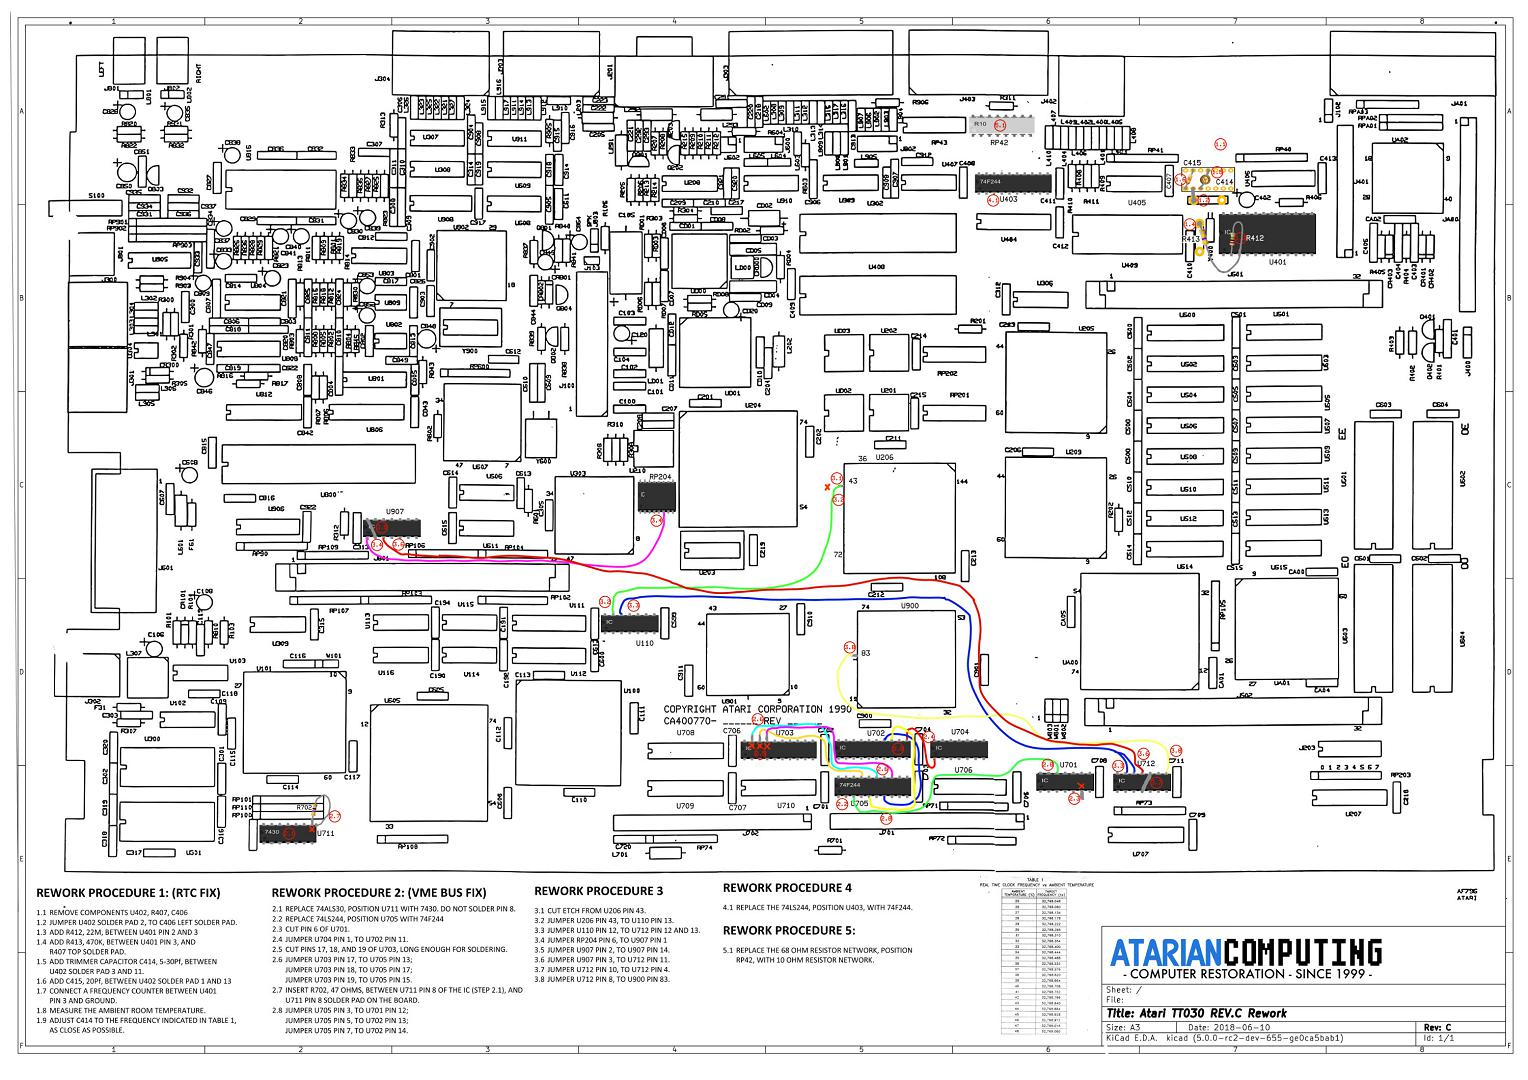
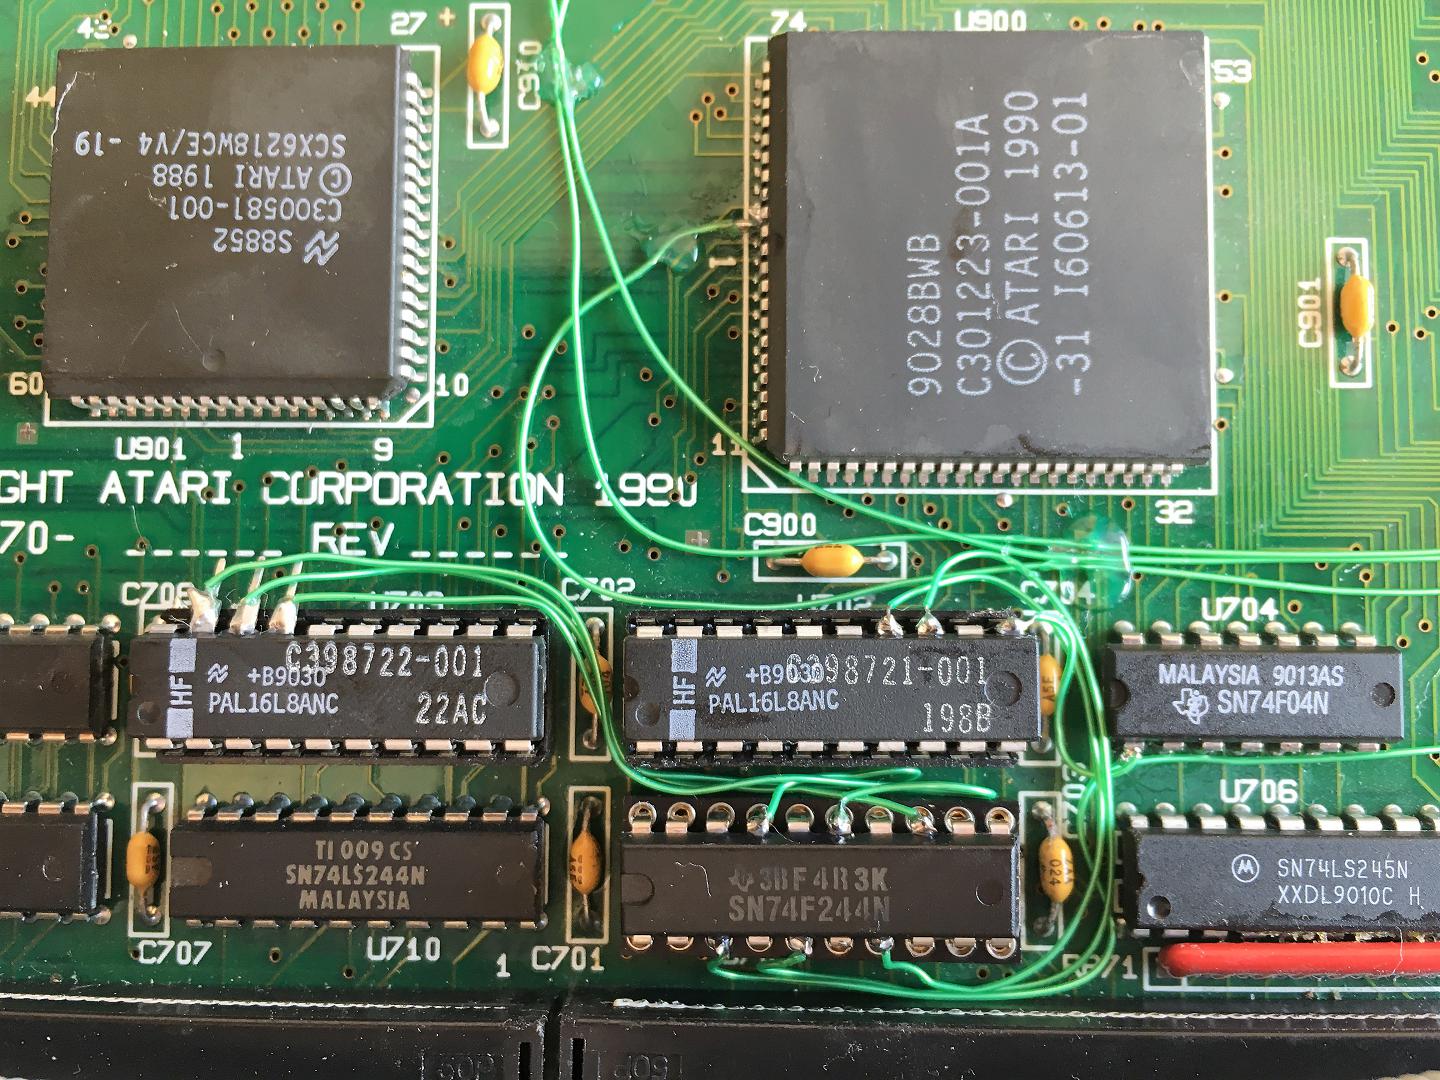
VME Bus Fix along with other fixes.
Rework Procedure 3
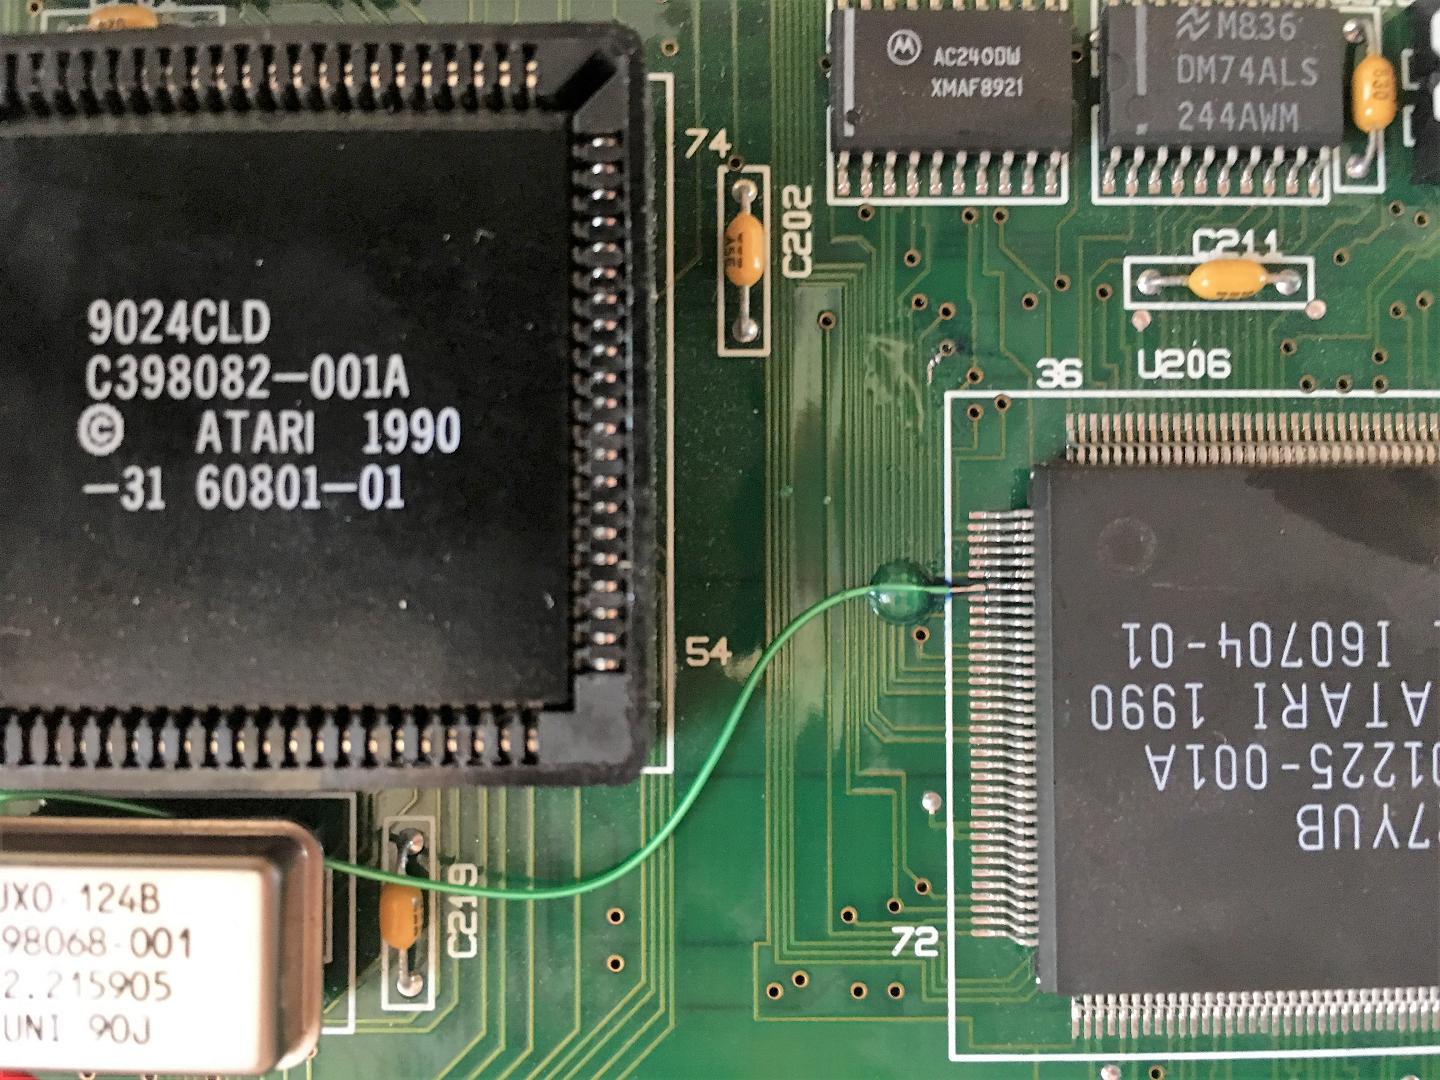
I love soldering. So this is U206. I cut the trace higher up right next to the via. Hot snot is recommended.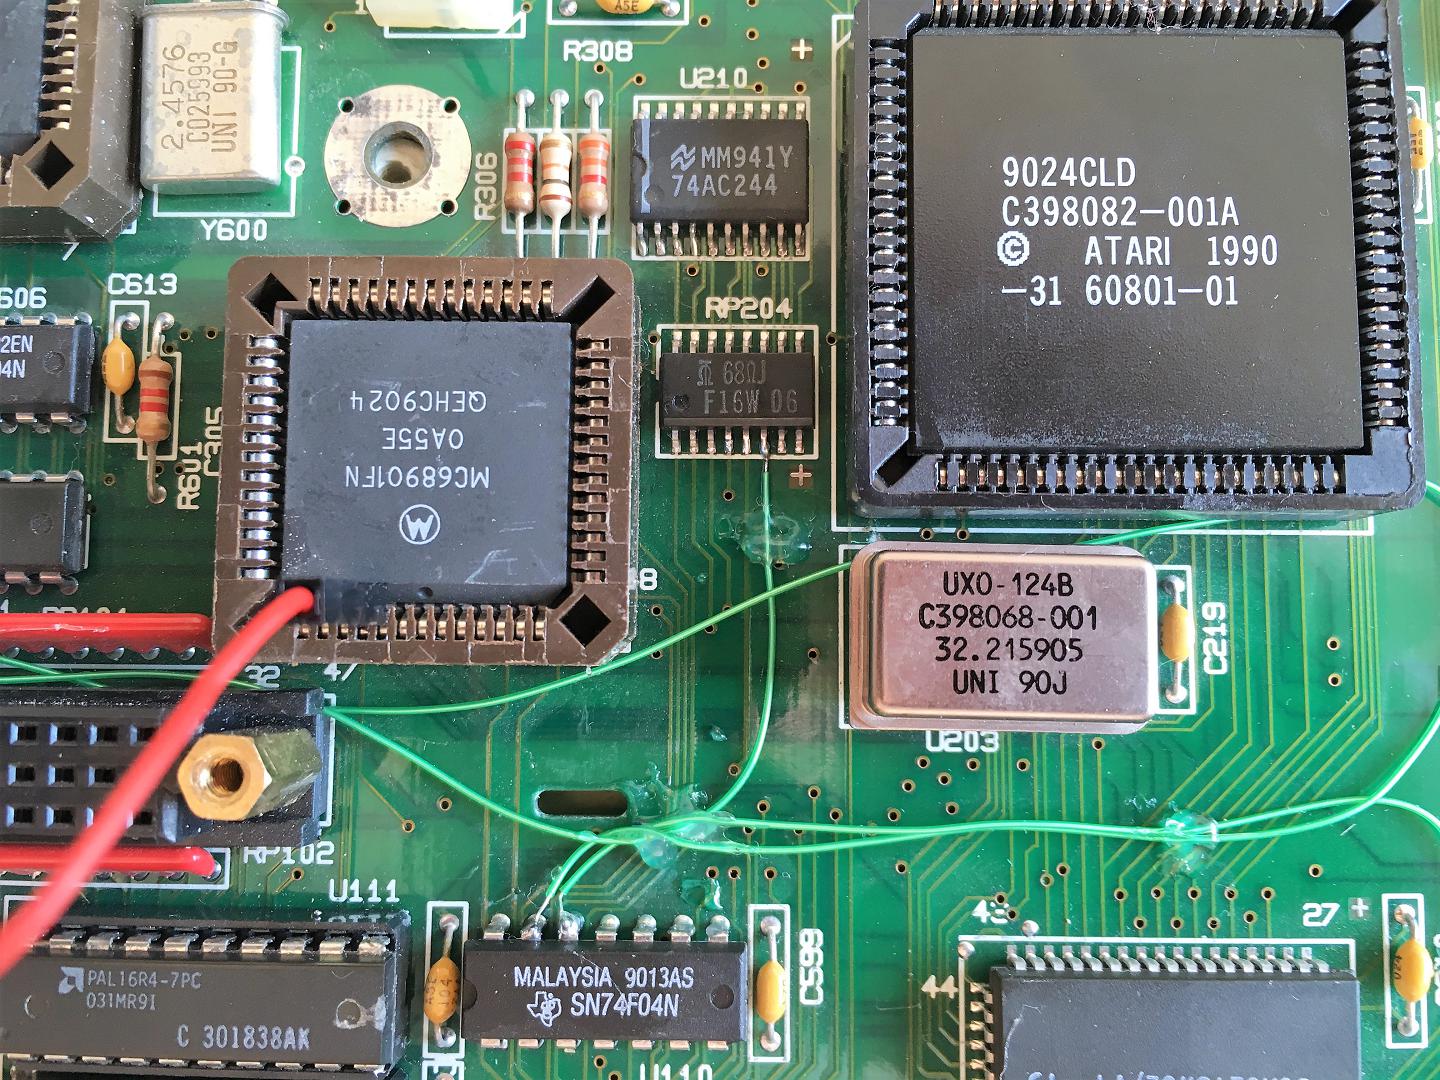
Again, very straightforward. Use hot snot where needed.
I simply use a leg from a cap or resistor to jumper pins on an IC. So much easier and neater.
Again, a simple link using a leg from a component. Note pins 12 & 13 are joined by the jumper. I simply exposed more wire and used it as a bridge.
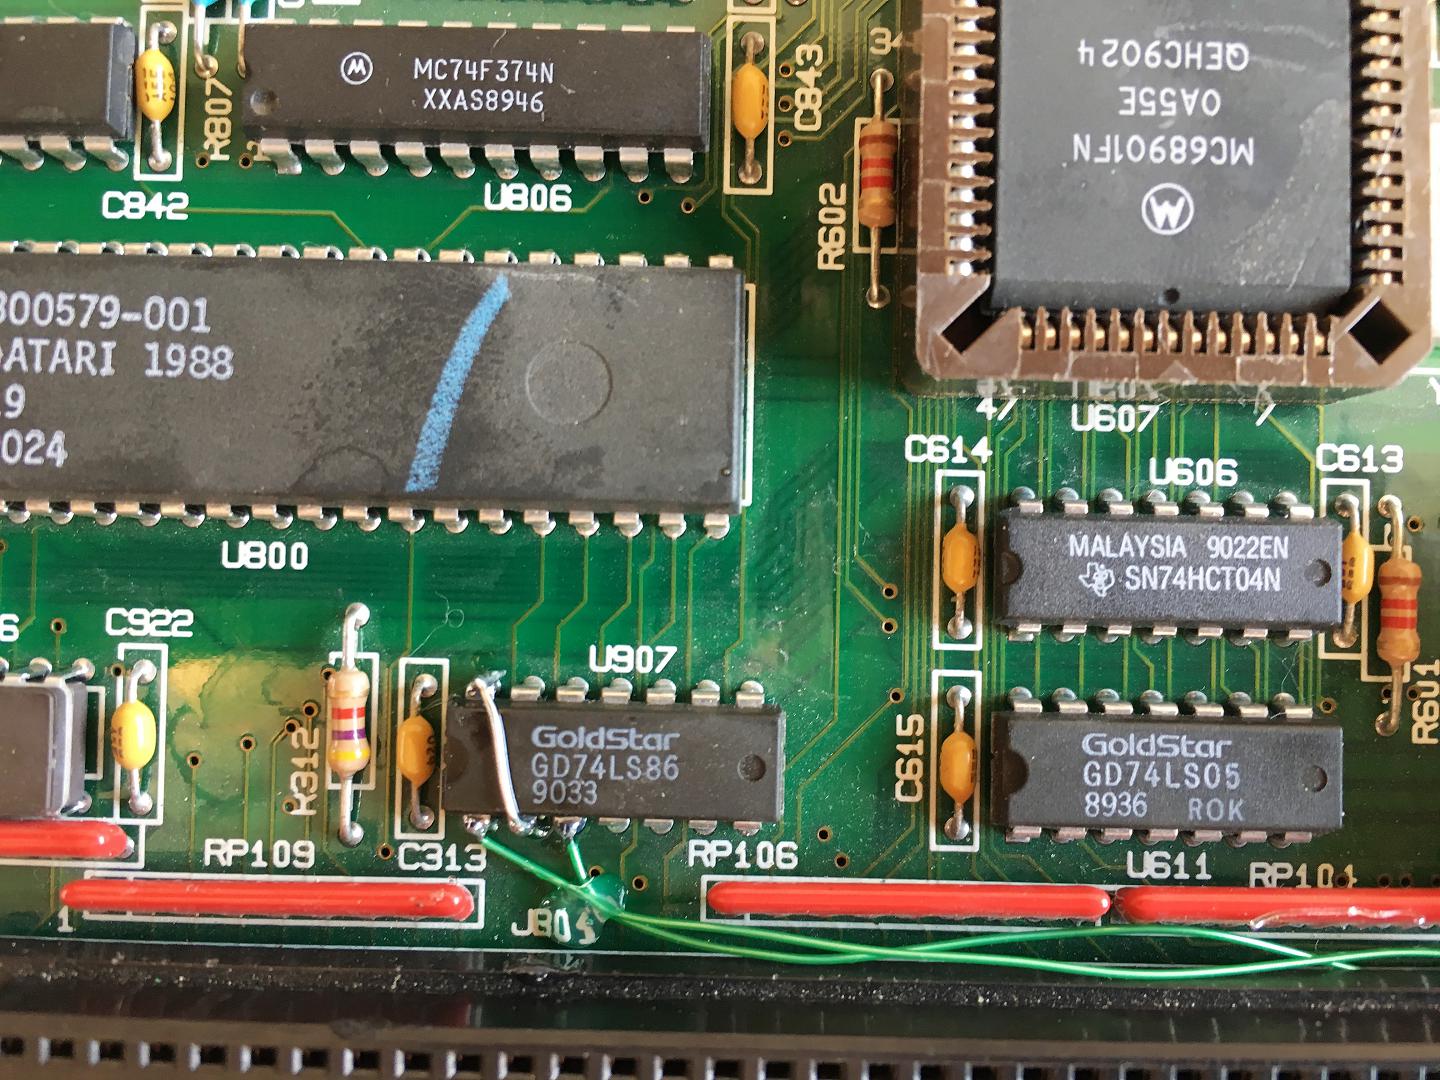
Same picture again just to show U900 pin 83.
Rework Procedures 4&5
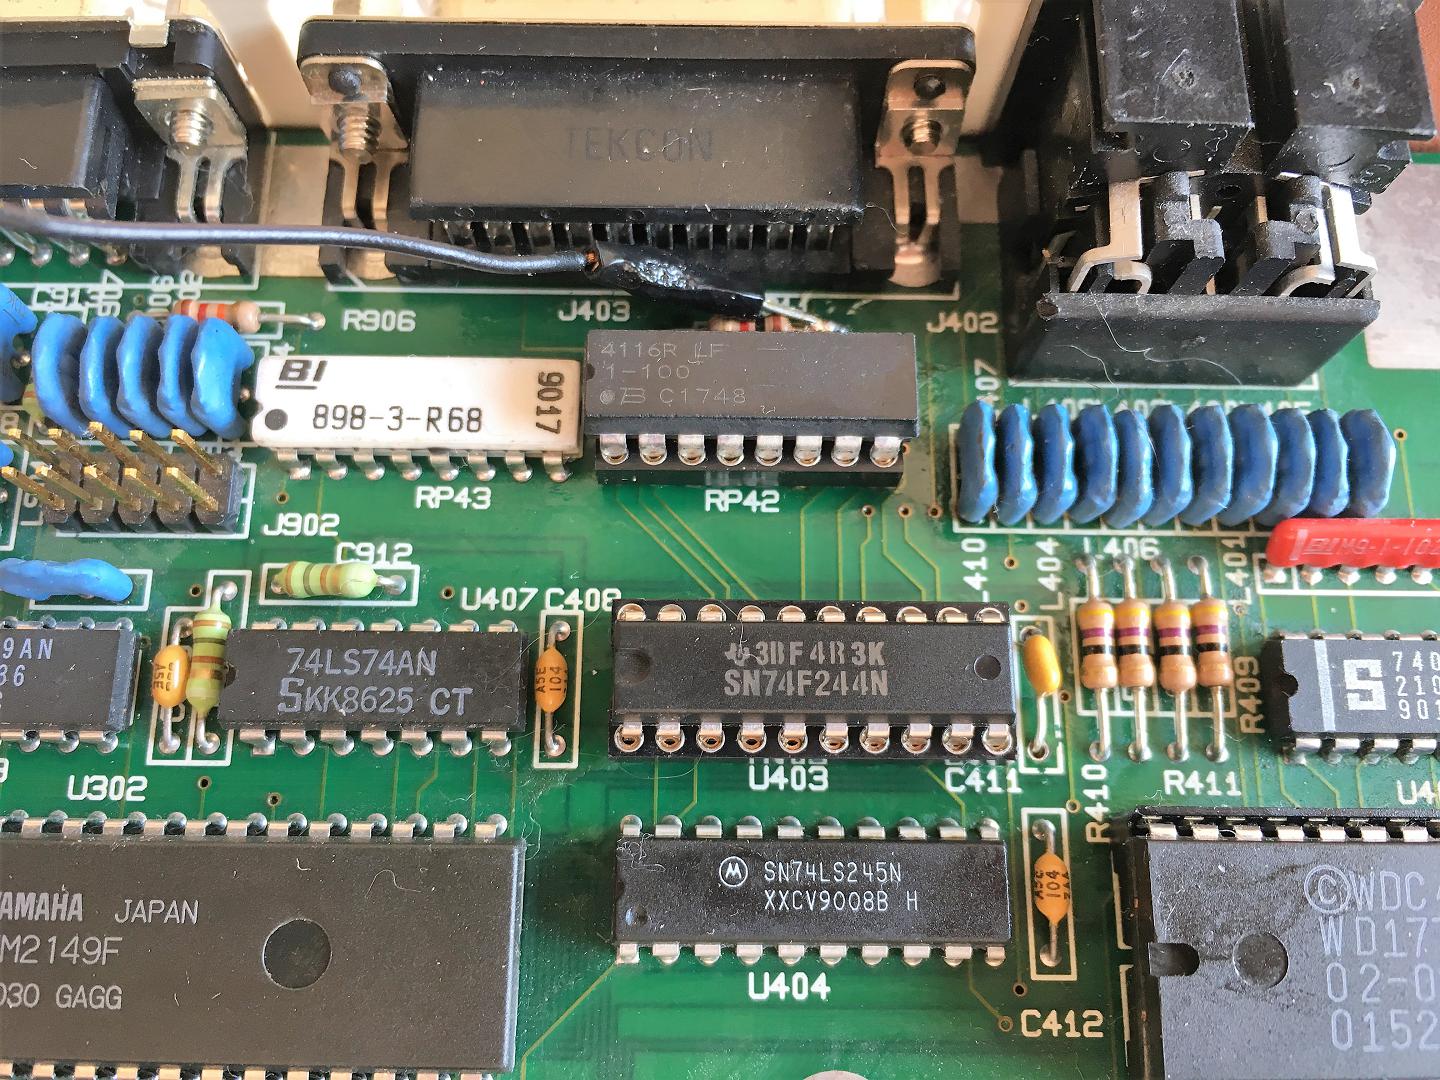
RP42 and U403. Just a simple matter of repealing and replacing. Again, I used sockets. It's good practice. Resistor pack is BOURNS 4116R-1-100LF Fixed network resistor, 10 ohm, 4100r series, 8 elements, isolated, dip, 16 pins. Black wire on top is for Thunder.
Poly-Mod
So we finally get to the highly debated subject of re-capping that seems to have proponents on both sides. Add to this the fact that polymer capacitors in Atari computers are still experimental.
Polymer capacitors use solid, conductive polymers as the electrolyte. The benefit of this is that the capacitor never leaks or dries out, which is the reason we re-cap in the first place. Other benefits are longer life, better stability, lower ESR. Polys also don't explode.
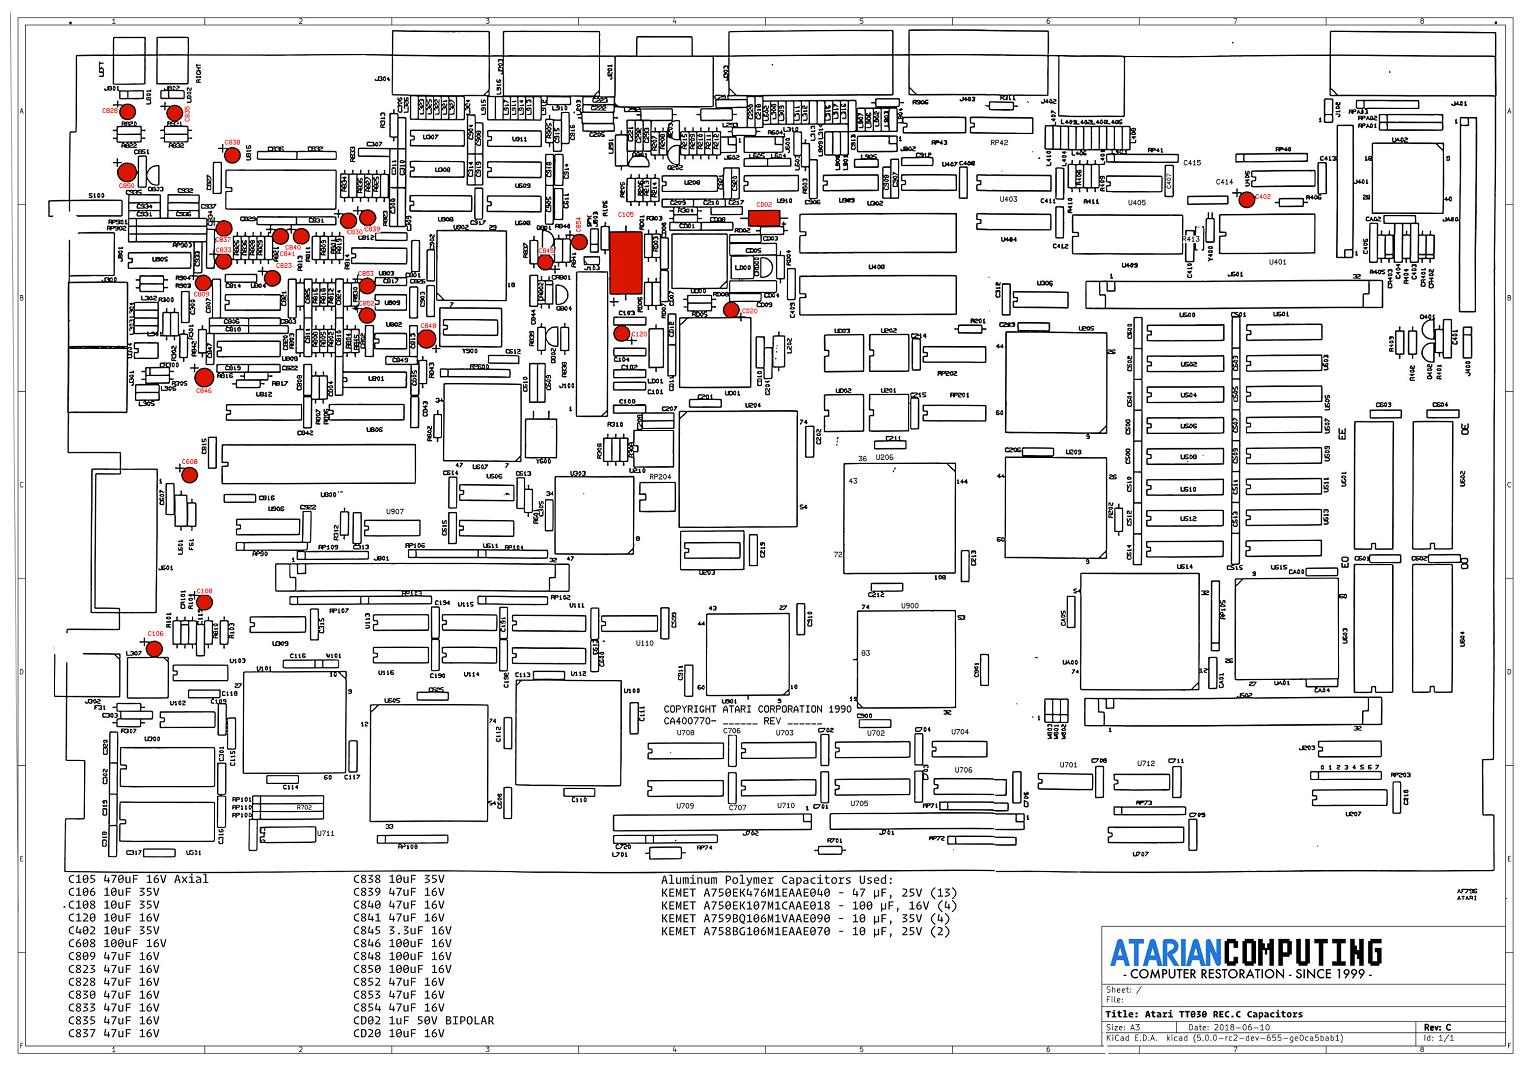
There were 3 capacitors I didn't replace with polys. CD02 didn't get replaced at all as I couldn't find a replacement. Axial polys are hard to find so C105 was replaced with a conventional Nichicon lytic. Polys typically don't go below 10uF so C845 is also a lytic.
I used Kemet exclusively with polymer. Where Panasonic, Nichicon, Rubicon, et al reign supreme in the electrolytic scene, Kemet has always been among the best ceramic and tantalum capacitor manufacturers. They make decent electrolytics as well. Kemet, however, is a leading supplier of polymer caps and by far the best manufacturer for my purposes. They have the best selection and the sizes are perfect as you will see in the pictures. Nichicon doesn't have a good selection of polys and many of them (FPCAP) are Fujitsu. Here is Kemet's through-hole product line: PDF
Here is a capacitor replacement guide. Click on it to get a PDF version.
Very pretty. Perfect fit.